Introduction to GraphQL on the backend
GraphQL is gaining more and more momentum. It is all the more important that developers have an overview about the principles and workings of this new approach to data interfaces. In this article, I want to cover these first steps: GraphQL as a statically typed languaged for querying and updating data. How can you provide a GraphQL interface and what benefits you might get from doing this?

Disclaimer: This is part 1 of the series "How to successfully implement your own GraphQL backend". Part 2 will be out soon™ and will cover solutions for the dreaded N+1 problem that might crush the performance of our apps.
What is GraphQL?
TLDR: GraphQL is a statically typed language that allows a client to query data from some kind of server.
That propably did not really help, did it? Why don't we learn by example. (Complete source code here)
First we have to define the schema, this defines data types and interfaces that our API provides:
# ./src/schema.graphql

type User {
  id: Int!
  name: String!
  friends: [User!]!
}

type Query {
  user(id: Int!): User
}

type Mutation {
  setUserName(id: Int!, name: String!): User
}
We have this Query type, which discribes the main entry point for querying data from our API. We can see, that we have one possible query: user. There we have to provide an Integer to the id field and get a User object in return. On this object, we can see the fields id, name and friends which returns an array of users.
(Note: the exclamation marks behind the types indicate fields or arguments that must never be missing/null.)
Additionally we defined the Mutation type. This defines all endpoints that update (=mutate) data on our server. These mutations can also return arbitrary values. In our case, the setUserName mutation returns the updated user.
query {
  user(id: 1) {
    id
    name
  }
}

mutation {
  setUserName(id: 1, name: "new name") {
    id
    name
  }
}
Here we can see an example query and an example mutation. It looks a bit like JSON, only without the values and with functions and arguments. Let's focus on the query: As you can see, we query the fields id and name on the user with the id 1. We do not query the field friends. The returned JSON response would look like this:
{
  "data": {
    "user": {
      "id": 1,
      "name": "Luke Skywalker"
    }
  }
}
GraphQL itself does not dictate how this query is transported between the client and the GraphQL server, in practice however, this usually happens via an HTTP POST request with a JSON body that looks like this:
{
  "query": "query {↵  user(id: 1) {↵    id↵    name↵  }↵}",
  "variables": null
}
This should be enough of an introduction to the basics of the language itself. Of course, there are more language features like fragments or directives but we don't need those for this post. If you are interested and want to learn more, check out the official documentation.
Let's build our first GraphQL server
The next step in adding GraphQL to our app is, to load your defined schema from ./schema.graphql:
// ./src/schema.js

const fs = require("fs");
const path = require("path");
const graphql = require("graphql");

const schema = graphql.buildSchema(
  fs.readFileSync(path.join(__dirname, "./schema.graphql")).toString()
);

module.exports = schema;
Note: Many other languages go the code-first approach: The schema is not defined in the schema definition language but as objects or classes in your code base. This is also possible in the JavaScript implementation of GraphQL.
Next, we need to add an endpoint to our node app, that listens to graphql requests:
// ./src/index.js

const express = require("express");
const graphqlHTTP = require("express-graphql");

const rootValue = require("./rootValue");
const schema = require("./schema");

// Instantiate express app
const app = express();

app.use(
  "/graphql",
  graphqlHTTP({
    schema,
    rootValue,
    graphiql: true,
  })
);

app.listen(4000, () =>
  console.log("Listening on http://localhost:4000/graphql")
);
This starts a webserver on port 4000 and whenever a request comes in at http://localhost:4000/graphql, we hand this request to the graphqlHTTP library.
This way, GraphQL integrates nicely with your standard request pipeline. There are bindings for most popular frameworks like graphql-dotnet for .Net/C#, GraphQLBundle for Symfony/PHP or GraphQL Java for Spring/Java.
Back to our example: We provided 2 important values to the GraphQL engine:
schema: This is being used to validate all incoming requests.rootValue: This is being used to "resolve" the data that should be returned.
Now, let's imagine that you send our example query from earlier to this enpoint. This is (more or less) what the GraphQL engine is doing:
- (Validate the query)
- Read in the first top-level field in the query
user - Check if the root value has a field
user,- If it is an
objector a primitive, put that object to the side for the resolution of the child fields. - If it is a function, call it with the arguments from the user field of the query and pass the express request object as second argument.
- If the function returns a Promise, wait until it resolves and put the result to the side.
- If the function returns a plain value, put that to the side.
- If it is an
- We now have a result for the user field. The engine now checks the fields on the next level of the query:
idandnameand tries to resolve those on the result of the parent (user result). - Again, the library checks if this current user object has a field
idand resolves that (take basic values, call functions, wait for promises). - Do the same thing with the
namefield. - Continue doing those steps recursively until all fields in the query are present in the final object tree.
- Return this object tree with all fields that the client requested as JSON response.
This should become clearer when we take a look at how the root value could work in code:
// ./src/rootValue.js

const rootValue = {
  user: async (args, req) => {
    return await req.dependencies.userRepository.getById(args.id);
  },
};

module.exports = rootValue;
Here, we defined a function on the user field, that retrieves a user from the userRepository. It does not really matter where we get the userRepository from, we could have imported that directly from another file. In our case, we put it on the express request object in a previous middleware.
And here is the code for this repository:
// ./src/user/UserRepository.js

// The userQueries contain code that accesses the database.
const userQueries = require("./user.queries");

class UserRepository {
  async getById(id) {
    const userRow = await userQueries.getById(id);

    return { ...userRow, friends: () => this.getFriendsOfUser(id) };
  }

  async getFriendsOfUser(userId) {
    const friendIds = await userQueries.getFriendIds(userId);
    const friendUserRows = await userQueries.getByIds(friendIds);
    return friendUserRows.map((friend) => ({
      ...friend,
      friends: () => this.getFriendsOfUser(friend.id),
    }));
  }
}

module.exports = UserRepository;
The userQueries.getById function, returns the user row from the database. This row only contains fields id and name (so that these can directly be resolved without calling a function). Since the GraphQL engine might check for the friends field when a client queries that field, we are adding a function there, that will be called, when a client needs it. This function requests more data from the database and returns an array of more user objects, with id and name fields and a friends function. This way, the client can request many levels of friends that will be resolved recursively.
To summarize: When a query contains the user field, we call the user function of our root value with the provided arguments. This function fetches a user object from the repository, this user object has 2 simple fields (id: number and name: string) and one function field friends which fetches all friends of the respective user from the database and returns an array of user objects, that can be used for further resolvers.
What are the benefits?
Okay, so far, that looks more complicated than your typical REST-API. Why should we even bother with that? The answer to that lies in the static typing of your API. By having access to the shape of your API in the backend as well as in the frontend, you get many benefits out of the box:
- Flexibility / decoupling from the frontend: Since the backend simply serves the data types with all possible fields, it does not need to adapt for specific requirements of different clients. Maybe you first list view needs only a summary on all users, while a detail page needs different fields. Clients can define that, without ever having to involve backend developers.
- Builtin validation: Since the execution engine knows your schema, it can already validate incoming requests against the specified types. As soon as a request provides a string instead of a number to the
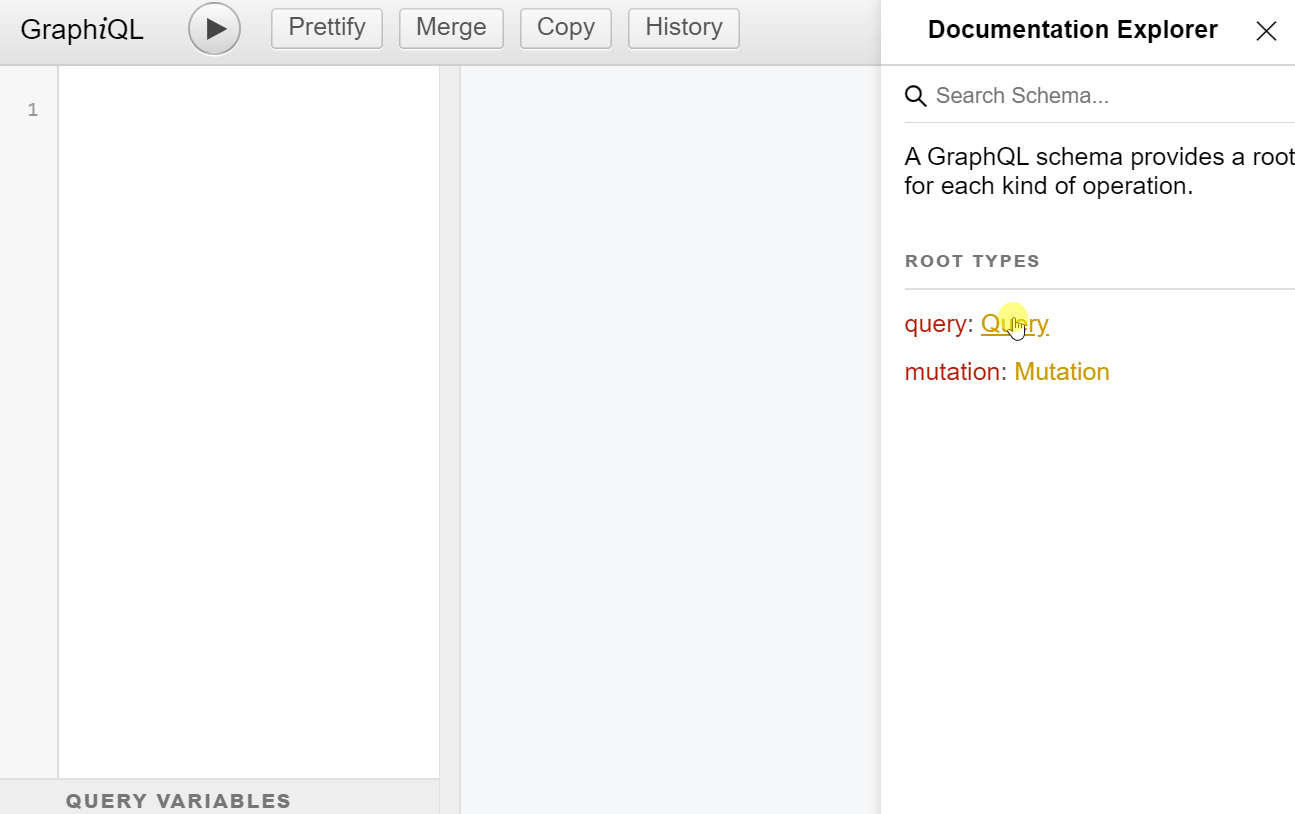
idfield, the engine throws a formatted error, telling the client what was wrong. Since required fields can also be specified in the schema, you also don't need to check for null values in your API where you do not expect them. - Documentation & exploration: There are many tools, that take your schema and build up interactive documentation tools for your API. One of those is GraphiQL:
- Data aggregation: Since you can specify different resolving functions on your types, it is very easy to build your GraphQL server as a Backend for frontend. That means that you build a separate backend, that aggregates data from multiple other (micro) services. This way, your frontend does not need to know about multiple services, it just queries for the required fields, and the GraphQL server delegates the requests in the resolver functions.
- Frontend tooling: The schem definition is not only usefull for the backend side of your projects: You can integrate it into your frontend repository and gain massive benefits: You could use one of the client side GraphQL libraries like Apollo or Relay, that use the knowledge about your schema for caching and request optimization. You could install IDE exentions (e.g. for VS Code) that read your schema and provide auto complete and validation for queries so that you never send invalid requests or you could go so far as to use a code generator that reads all your queries and generates TypeScript types or complete query functions, so that you don't ever have to worry about your request infrastructure again after setting it up.
Summary: What is GraphQL and what is it not?
As explained earlier, GraphQL is only the specification of the language and the execution engine that are being used to define and resolve requests. What your functions in your root value are doing or what network middlewares you are using in your app is absolutely not GraphQL's concern. So things like pagination, filters, authentication, database connections or caching are NOT part of GraphQL. It is your job as a developer to find solutions to these problems, or keep using your preferred solutions like session cookies for authentication or your favorite ORM library for the persistence layer. That way, you can get all the benefits of GraphQL without losing flexibility in other layers of your application.
Outlook: All sunshine and roses?
Of course there are some complexities with GraphQL. Maybe you already spotted a problem with our UserRepository. Take a look at the following query:
{
  user(id: 1) {
    id
    name
    friends {
      id
      name
      friends {
        id
        name
        friends {
          id
          name
          friends {
            id
            name
            friends {
              id
              name
            }
          }
        }
      }
    }
  }
}
Looks a bit weird, however that is definitely a valid query. But the real shocker is the amount of SQL queries that are generated by that request: 117 queries to the database to resolve this one GraphQL query. And it gets exponentially worse with each level of nesting that we add. This is even more surprising when we realize that we only have 5 different users in our database. This is the dreaded N+1 problem! For reasons behind this problem and possible solution approaches, you have to wait a bit, until the next post arrives at our blog. Make sure to follow on Twitter, so you don't miss it.